
Windows11で「WindowsApps」フォルダを開けるようにする方法を紹介しています。
通常アクセスする必要はありませんが、アプリケーションの実行ファイルの場所(パス)を取得したい場合などに、開けるようにします。
確認環境
- HP ノートパソコン HP 17s
- OS Windows11 22H2
WindowsAppsフォルダを開けるようにする
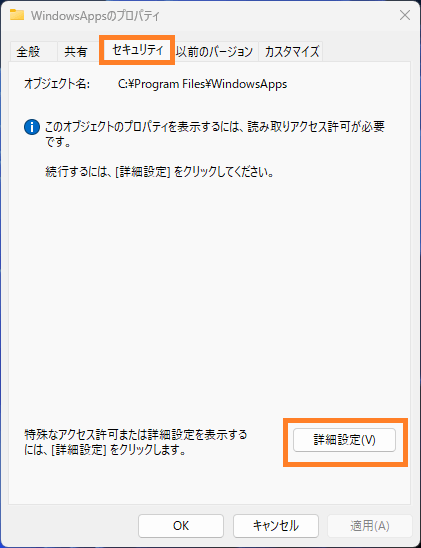
「WindowsApps」フォルダのプロパティを開いて「セキュリティ」タブから「詳細設定」を選択します。
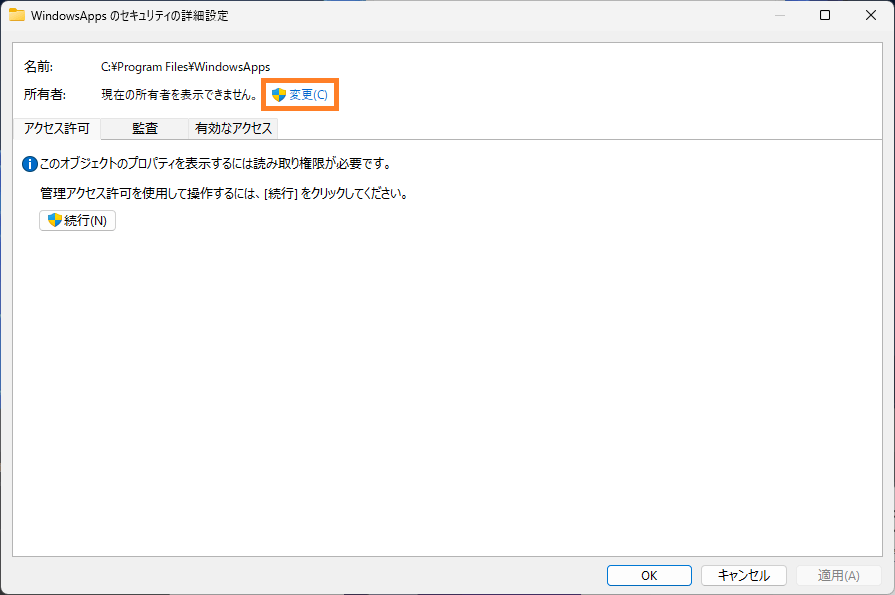
「WindowsApps のセキュリティの詳細設定」が開きます。
「所有者」の横にある「変更(C)」を選択します。
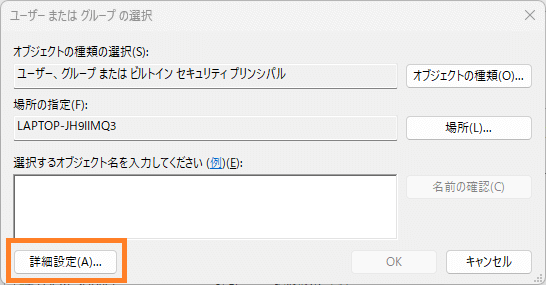
「ユーザーまたはグループ」の選択が開きます。
直接、アカウント名を入力する事も可能ですが「詳細設定」から選択する事もできます。
「検索」から所有者としてセットアップしたいWindowsのユーザーアカウントを探して選択します。

「サブコンテナーとオブジェクト」のチェックを入れます。
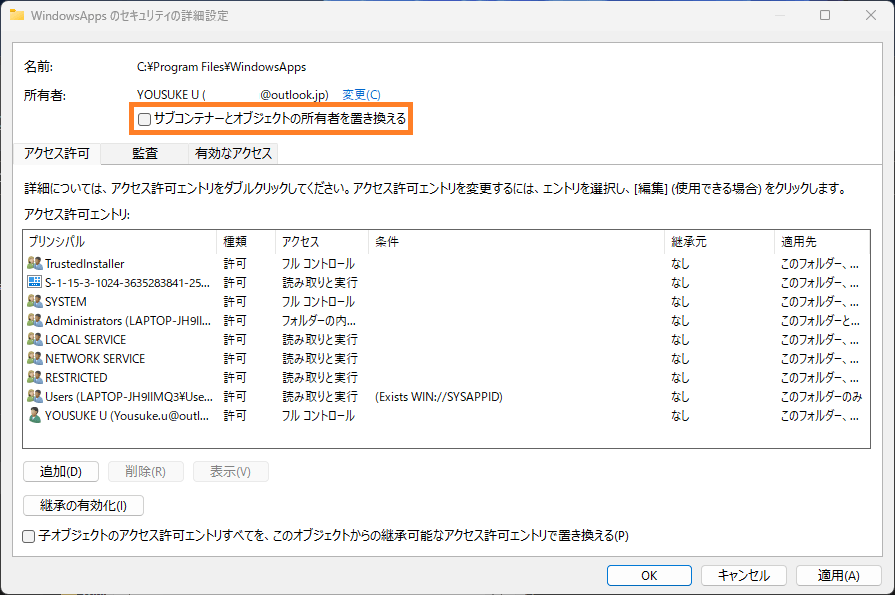
設定が完了すると「WindowsApps」フォルダを開けるようになります。